Data Wrangling workflow for TV
Data Wrangling Workflow
When working as a Data Wrangler your workflow is key. Note I say Data Wrangler, and not DIT. This is a simple reliable method of data wrangling for storage, not a complete Digital Imaging Technician. As an Edinburgh based camera operator with experience as a data wrangler this is my personal work-flow, and as such each person will seek to make their convention their own. Whatever your work-flow, it is important that you stick to it. When backing up your rushes it is very important that the naming convention is correct. Be meticulous. I’ve seen first hand what happens when people are cack handed with their cards and at best it involves alot of stress and drama between the shoot and the edit with people questioning if footage has been lost – and at worse you really have lives oit your worst nightmare!
Into the Realms of the DIT Digital Imaging Technician
I have worked as a professional camera operator and editor, but the types of camera technologies you will come across may be far greater than my day-to day and include Arri Amira, Red Scarlet Dragon, Varicam LT and the Canon C300. ShotPut Pro is an automated copy utility application for video, audio and photo files. At $129 it is widely used and trusted by film and TV professionals. They have other useful products like PrimeTranscoder but I typically just use MPEG Streamclip. Many of the DITs I know will use Film Convert for camera profiles, Da Vinci Resolve for grading and Plural Eyes for syncing up cameras (if required), and Scratch for reviewing rushes.
Data Wrangling Equipment
13″ Mac Book Pro Retina Display
x2 2TB Rugged Lacie (Thunderbolt)
2x 8TB G-raid (in the office)
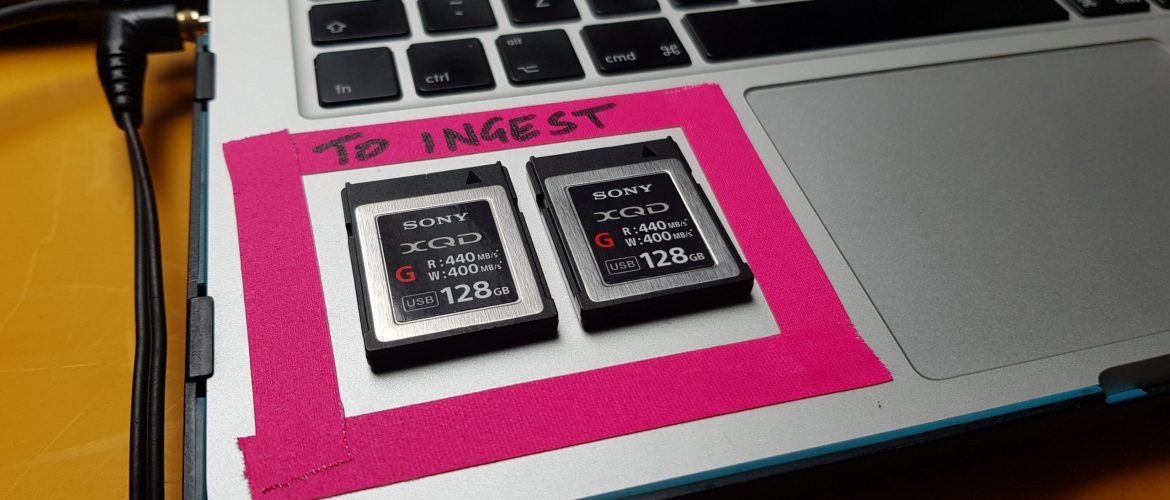
XQD card reader (for Sony FS7)
Workflow as a Data Wrangler on ShotPut Pro
You will create your naming convention within ShotPut Pro.
Everything must be copied via Shotput Pro, and you must copy THE WHOLE CARD, and not touch the folder structure within the card. We need an exact copy of the card in its entirety. Please adhere to the following naming convention exactly as follows, it is so important that this is correct.
SERIES_EPISODE_SUBJECT_CAMERAOP_REVDATE_CAMCODE_CARDNO
e.g.
GB_COA_SEALS_SO_20170526_FS7_001
Camera Codes:
FS7 – Sony FS7
AMIRA – Arri Amira
RED – Red Scarlet Dragon
VCLT – Varicam LT
C300 – Canon C300
FS700 – Sony FS700
ME20 – Canon ME20
SELEX – Selex
A7S – Sony A7S
GH4 – Panasonic GH4
D500 – Nikon D500
GP – GoPro
OSMO – DJI OSMO X5
ShotPut Pro version 6
Backing up with ShotPut Pro version 6
Begin by connecting the 2 backup (destination) drives and the raw media (source) dri ve or card. Then launch ShotPut Pro and open the ‘Preferences’ menu.
Please ensure that the above settings are set. Backing up – Setting the offload destination Double click on ‘Presets’ in the bottom left hand corner.
In this Window you can change your Preset Title to ‘Default Offload’ It is in ‘Custom Text’ that you create your naming convention At the bottom of the window in ‘Filesystem Offload Destination’ add the 2 drives that you are backing up to. Please ensure that the below settings are set.
Once you have set the preset, drag and drop your card onto ‘drop files here’ You must drag and drop the whole card, do not open the card and pick out files. When the whole card appears in the main window, hit the play icon in the top right. The offload status will begin and appear in top right.

